Follow the below steps to create a new panel.
- Navigate to the Panel Designer tab.
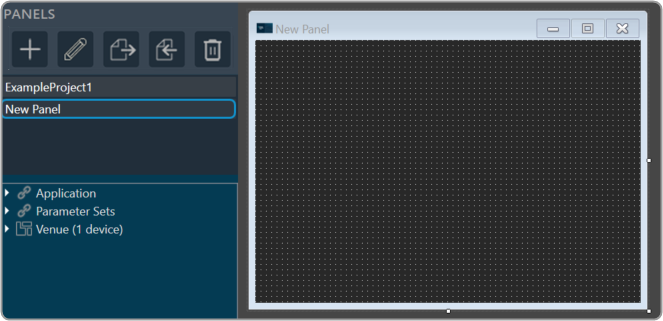
- Go to Panels view and click on the (+) icon.

- Enter the name of the panel and click OK. The newly created panel add to the panel list.In the Panel view, select the new panel. The designer workspace of the new panel opens.
Add State Variables to Panel
Before adding StateVariables, make sure you have added a device to GTT. For information on how to add a device, refer to Create a New Project.
There are two ways to add StateVariables to a custom control panel.
- Option 1: Drag a StateVariable and choose a control.
- Option 2: Add a control and assign a StateVariable.
Option 1: Drag StateVariable and choose control:
- Go to Panels view, expand the cores of your device, and drag-drop a StateVariable to a free space in the custom designer panel. A dialog box opens showing all the basic control tools.
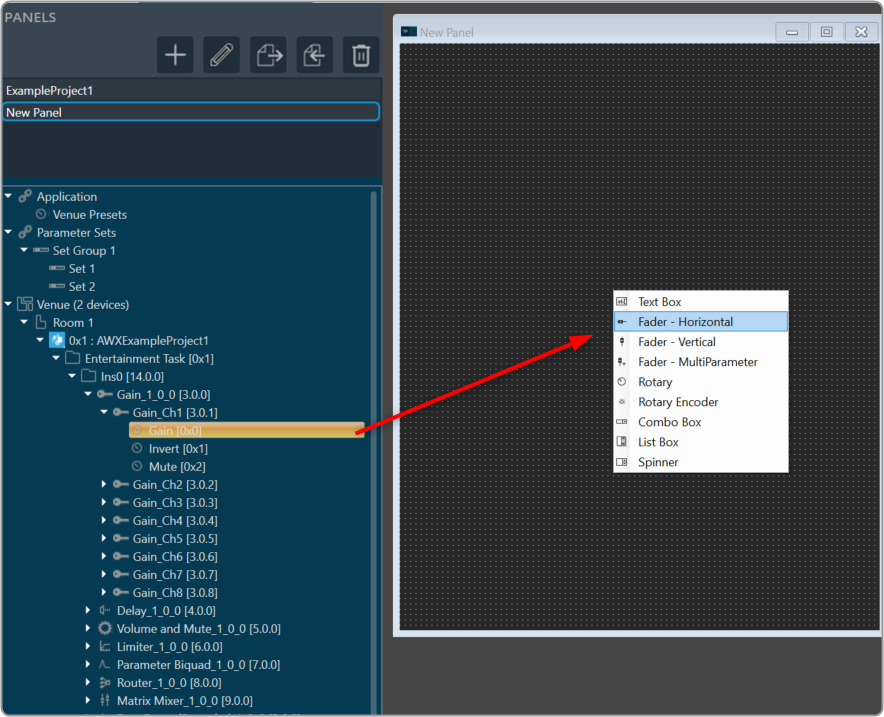
- Select the desired control tool from the list to adjust the value. The choice of controls depends on the StateVariable type.

Option 2: Add control and assign StateVariable:
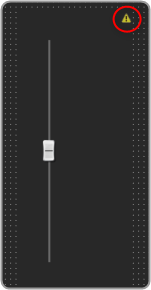
- Right-click on the designer workspace Insert > Basic > select the desired control tool from the list to adjust the value.

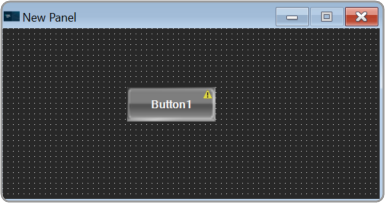
The control added to the designer workspace. The warning symbol indicates that no StateVariable is assigned to the control.
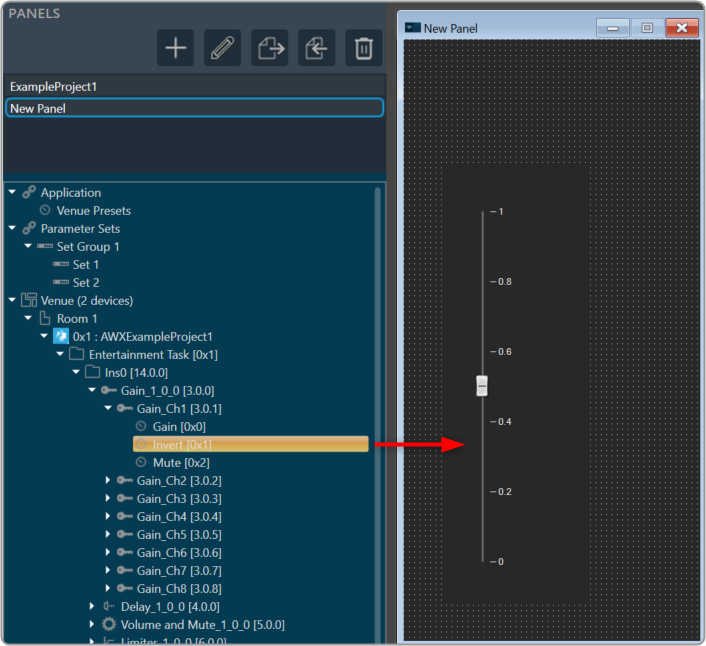
- Expand the cores of your device and drag-drop a StateVariable on a control. The control value is updated as per StateVariable.
Launch Panel
In order to verify the controls in the panel, you have to launch the control panel.
- Select the panel from the Panels view.
- Go to Tool panel, and click on Launch Current.
Or Press F5.

Link Custom Panel with Audio Object
Once a custom panel has been created, it can be linked to any audio object.
- Go to device designer tab and open the SFD view of the project.
- Select the desired audio object and enable the Is Custom Panel option from the Properites view.
- Set the required custom panel from the Available Custom Panels list.
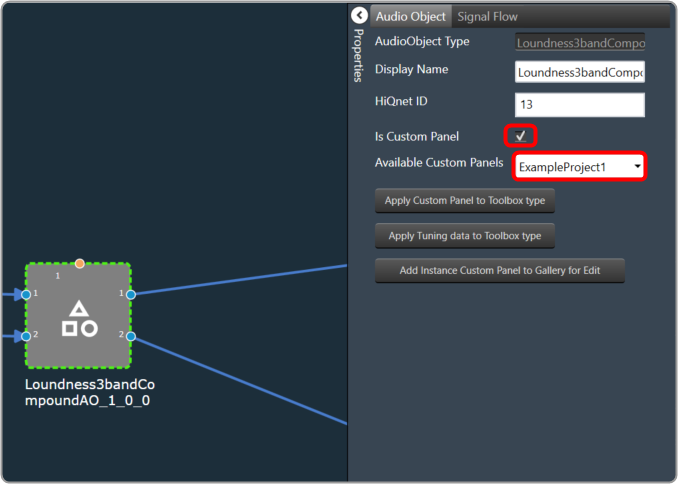
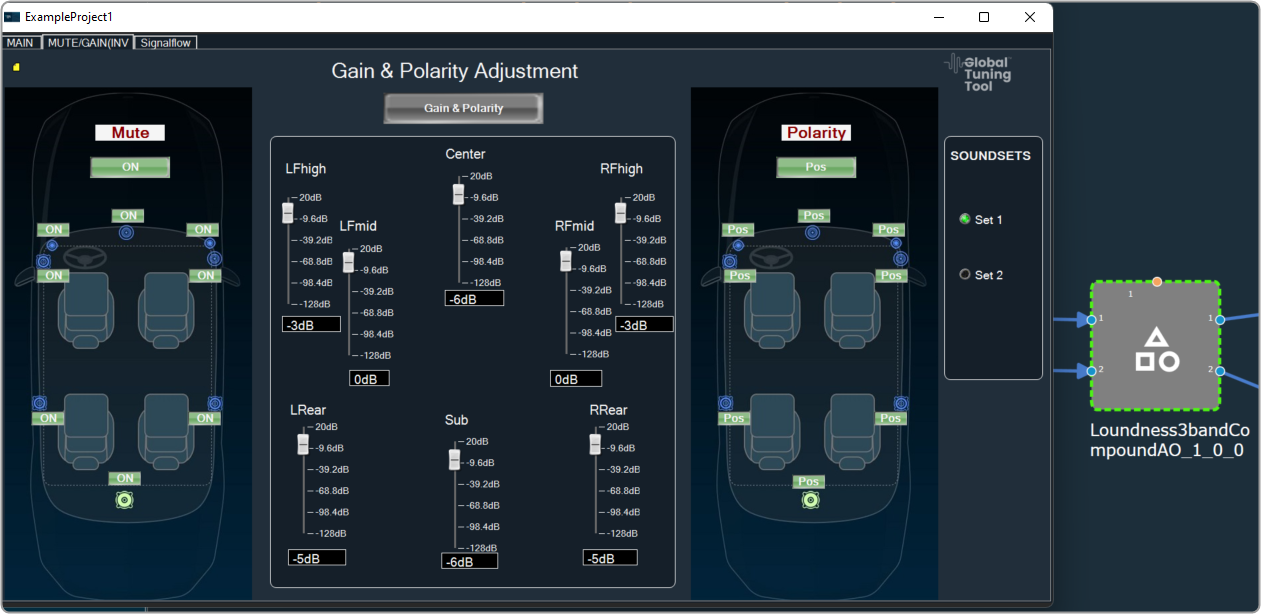
- Double-click on the audio object once it has been linked to the custom panel. This will open the custom panel that is assigned to an audio object.
Change Processing State of Audio Object
This feature allows the user to configure a button to any processing state for a specific object in the custom panel.
- Create a new panel and add a Button from the Basic controls tools.
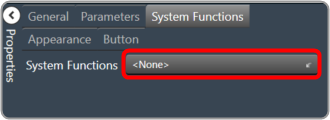
- Select the Button, open the Properties view, and select the System Function tab.
- Click on System Functions. This opens System Function Editor window.
- Click on System Function and select Function as Processing state. On the System Function Editor window, select the Function as Processing State from the drop-down list, and Sate as Mute. This opens a Configuration panel.

- Select the device/project and audio object from the drop-down list which you want to link, and click OK. Depending on the selection of device/project the list of the audio objects is displayed in the drop-down list.
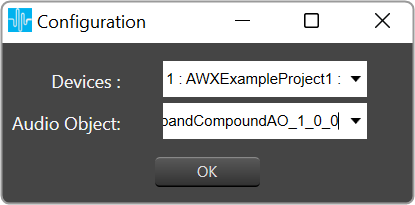
You can edit the device name and audio object name in the configuration panel. - Click Ok. If you want you can customize the Button appearance.
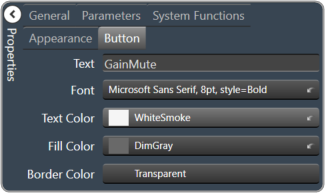
- Go to the Properties view, select the Button tab, and change the button name, font style, text color, fill color, and border color.
- Click on Launch Current and click on the button to set the processing state
This feature helps you to set the processing state when you don’t have the license to SFD.