Table of Content

- 20

-

Building External Audio Object
Prerequisites
1. Developer should generate the corresponding libraries before starting the build process execution. Otherwise, there will be errors when executing the batch file Build.bat.

For generating xAF libraries:
python build.py --platform=WinPc --target=Win64 --program=allExtObjects --profile=Release
For generating AWX VirtualAmp:
python build.py --target=Win64 --program=virtualAmp --profile=Release --group=all
2. Place the the external audio object’s source code under externalsrc.
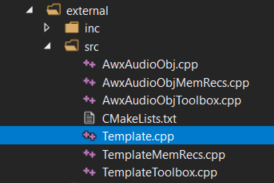
3. Place the external audio object header file under externalinc . The header file name should be equal to the external audio object class name. For example, if the audio object name is CTemplate, the header file name should be Template.h.
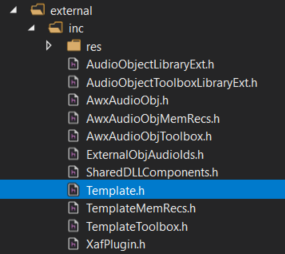
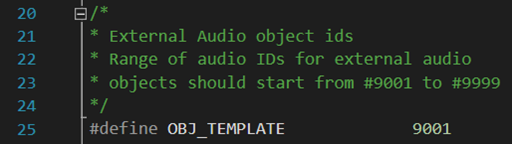
4. Make sure the external audio object’s pre-processor macro is defined in file externalincExternalObjAudioIds.h. The name should be OBJ_”header file name” and the value should be in the range between 9002 and 9999.
E.g. Audio Object Template ID:
5. If additional libraries need to be linked, add them in the file CmakeLists.txt located in:
extendable-audio-frameworkexternalsrc

Steps for building Audio Object Template
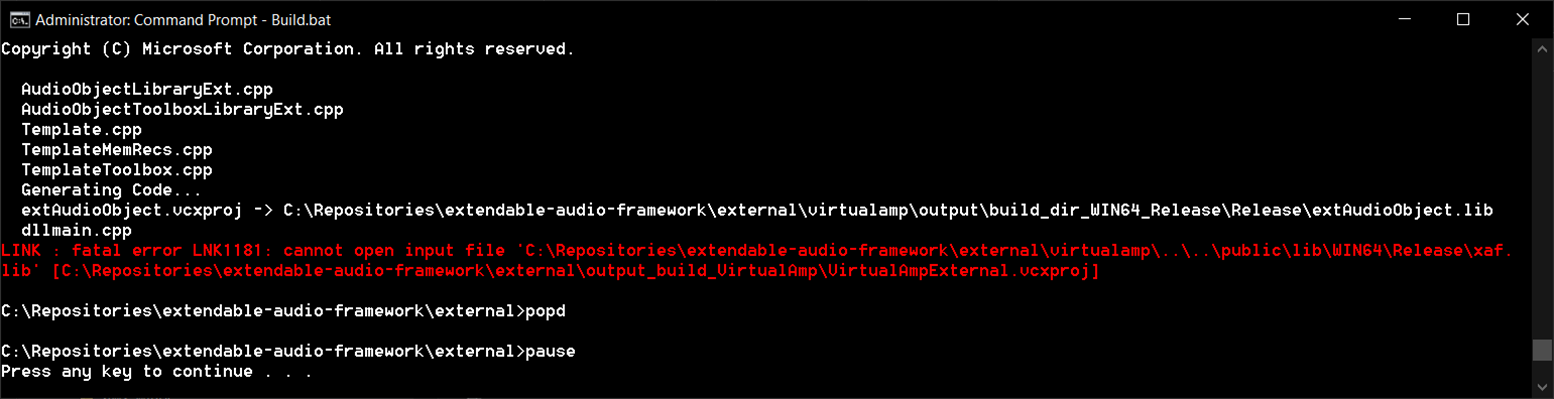
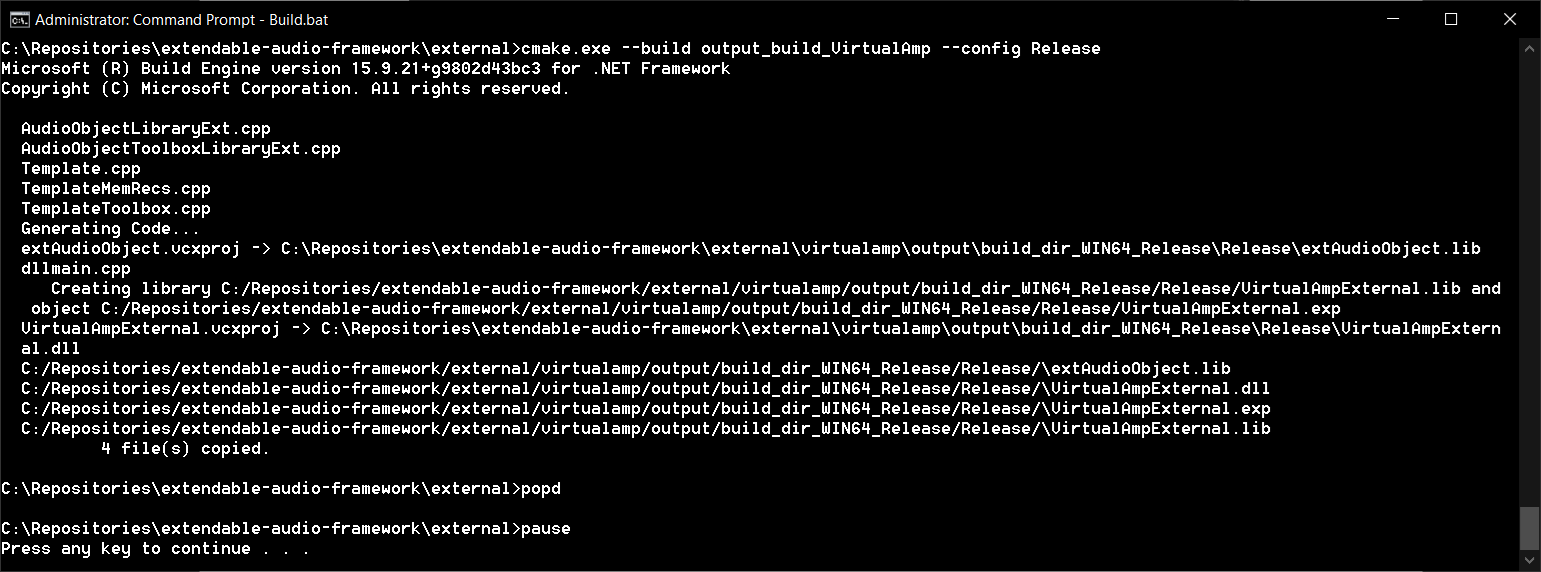
1. Open a command prompt window in Admin mode.
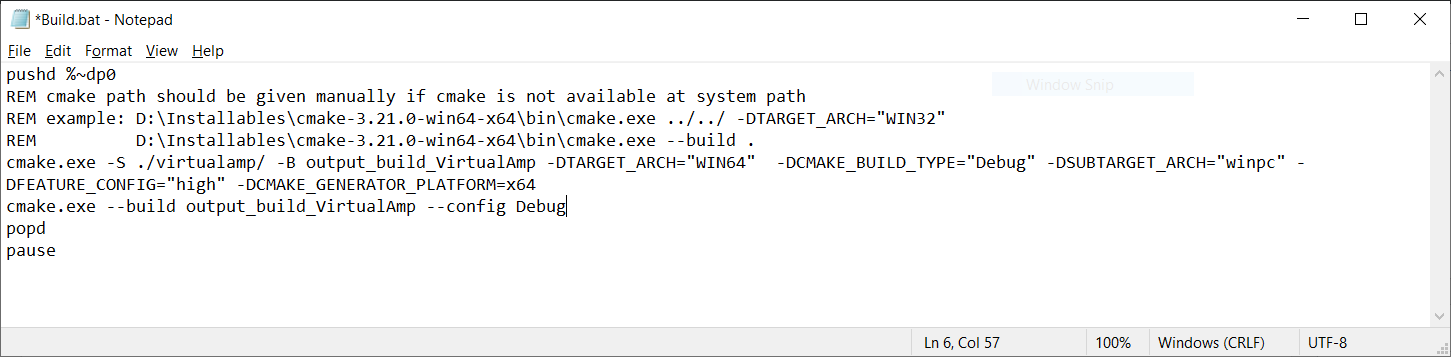
2. Execute the batch file Build.bat
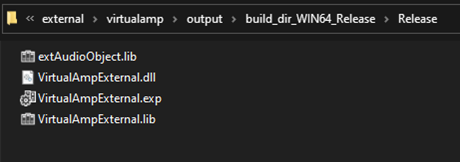
3. After the build process is complete, the corresponding VirtualAmpExternal.dll file will be available at the path externalvirtualampoutputbuild_dir_WIN64_ReleaseRelease.
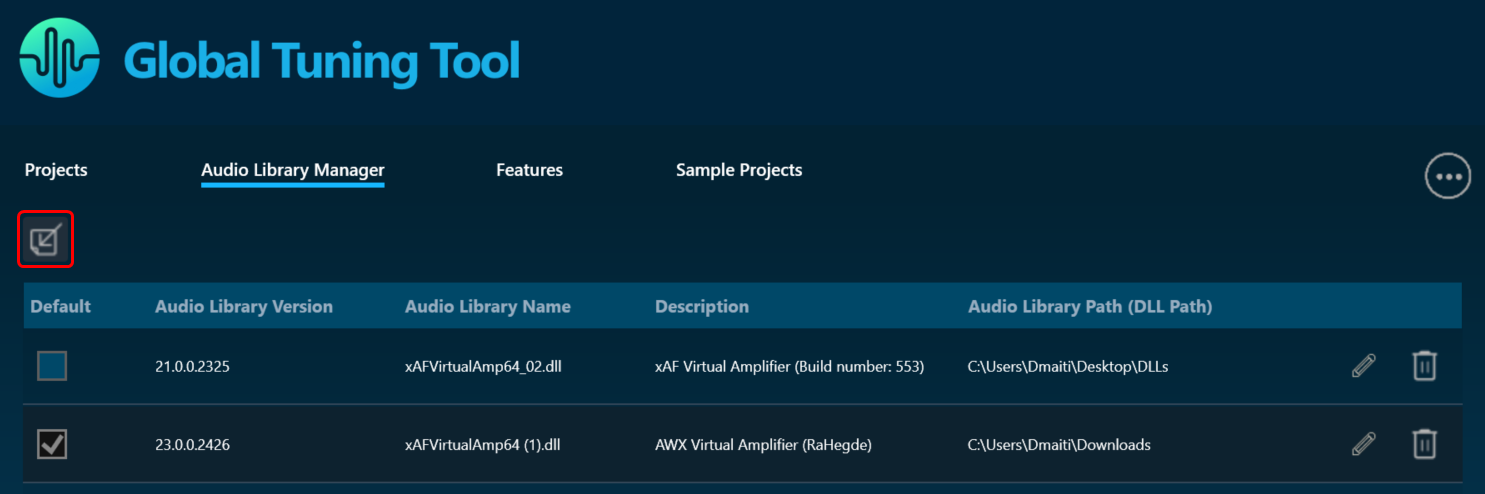
4. The generated .dll file can be imported as an audio library into GTT to update the toolbox with the newly added audio object(s).
If the developer needs to use debug build mode to make sure everything is working as expected, the file Build.bat can be modified accordingly by changing -DCMAKE_BUILD_TYPE=”Release” to -DCMAKE_BUILD_TYPE=”Debug” and –config Release to –config Debug.
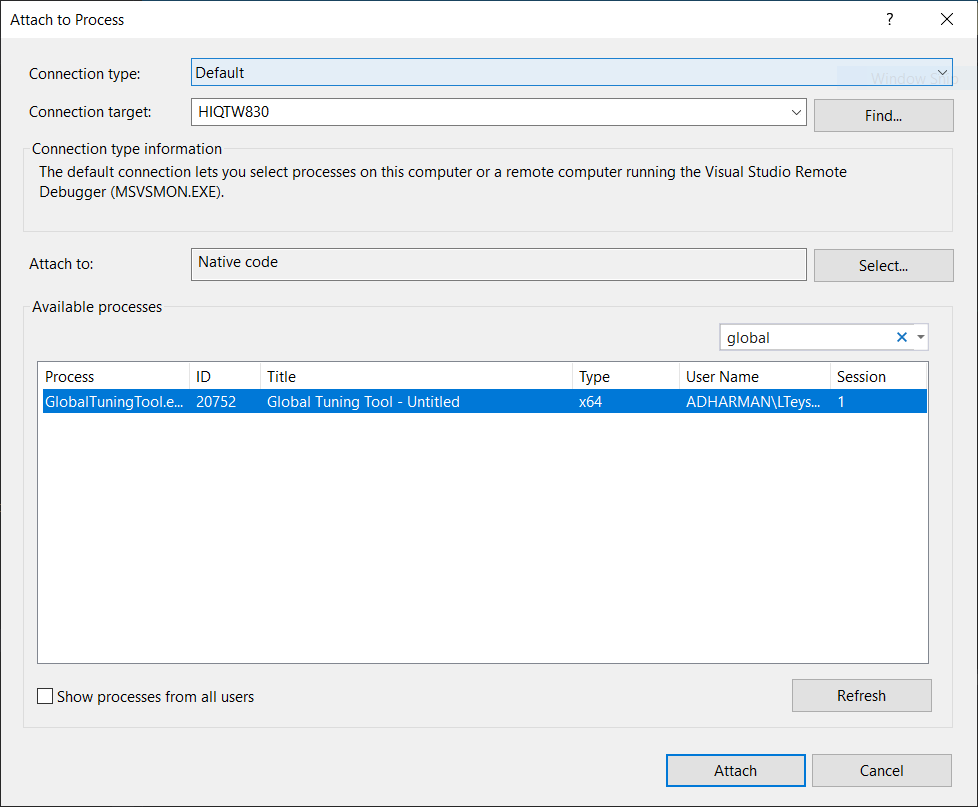
To debug the audio object in Visual Studio, the developer has to select the option Debug->Attach to Process… Then, select Attach to: Native code. Finally, filter out the desired process:
– Toolbox:

– Calc function and tuning: