Follow the below steps to upgrade AudioworX.
- Right-click the AudioworX setup file and choose Run as administrator.
The AudioworX setup file must be run as administrator. Certain Global Tuning Tool features may not work properly if you run the AudioworX prerequisites setup file normally.
If you see the User Account Control prompt that says, Do you want to allow this app to make changes to your device? select Yes.
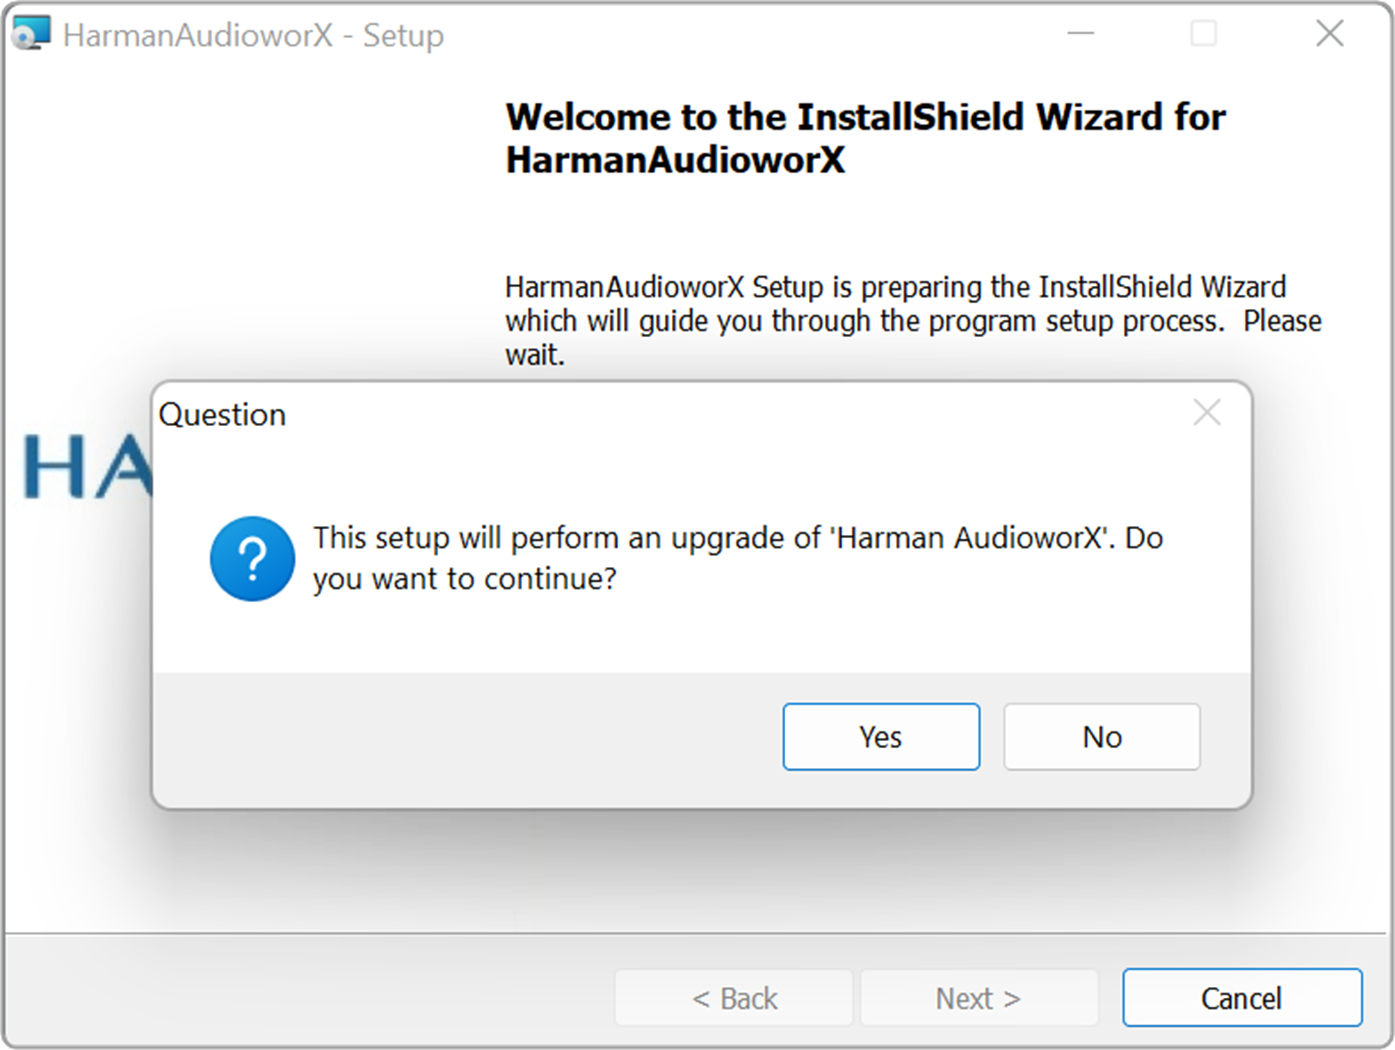
- Click Yes to confirm the Harman AudioworX setup upgrade request.
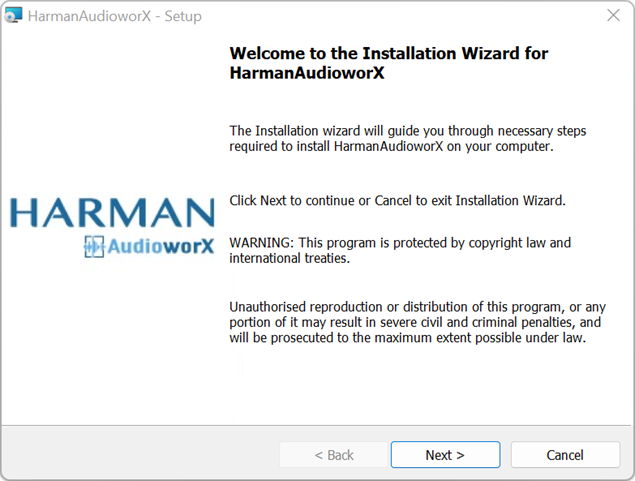
- On the AudioworX welcome screen, click Next.
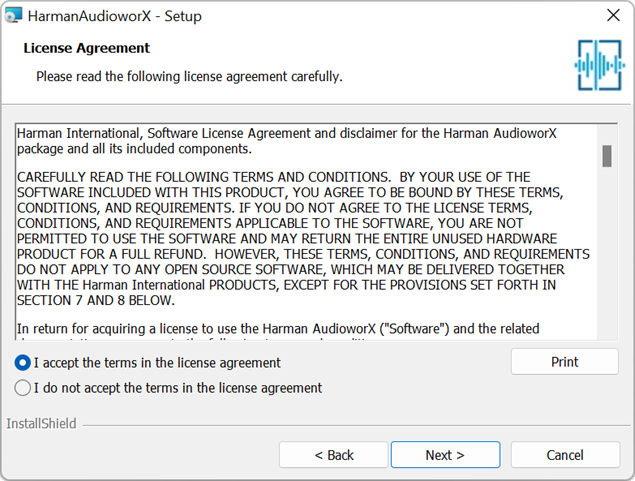
- On the License Agreement screen read the license agreement carefully, accept the terms of the license agreement, and click Next.
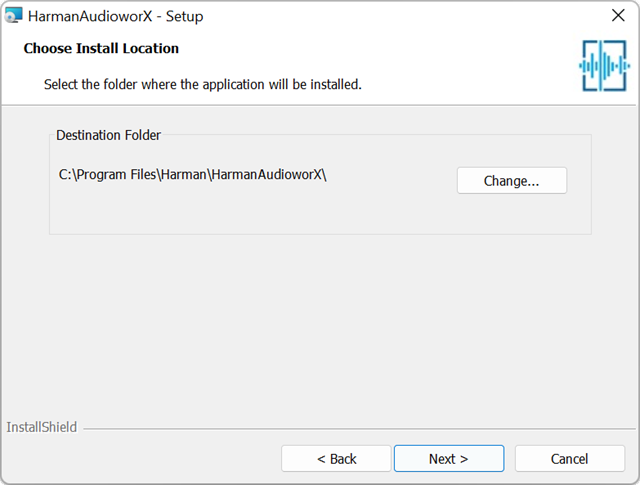
- On the destination screen, click Next if you accept the default destination folder location.
The default location is C:Program FilesHarmanHarman AudioworX.
Or click Change to set a different folder.
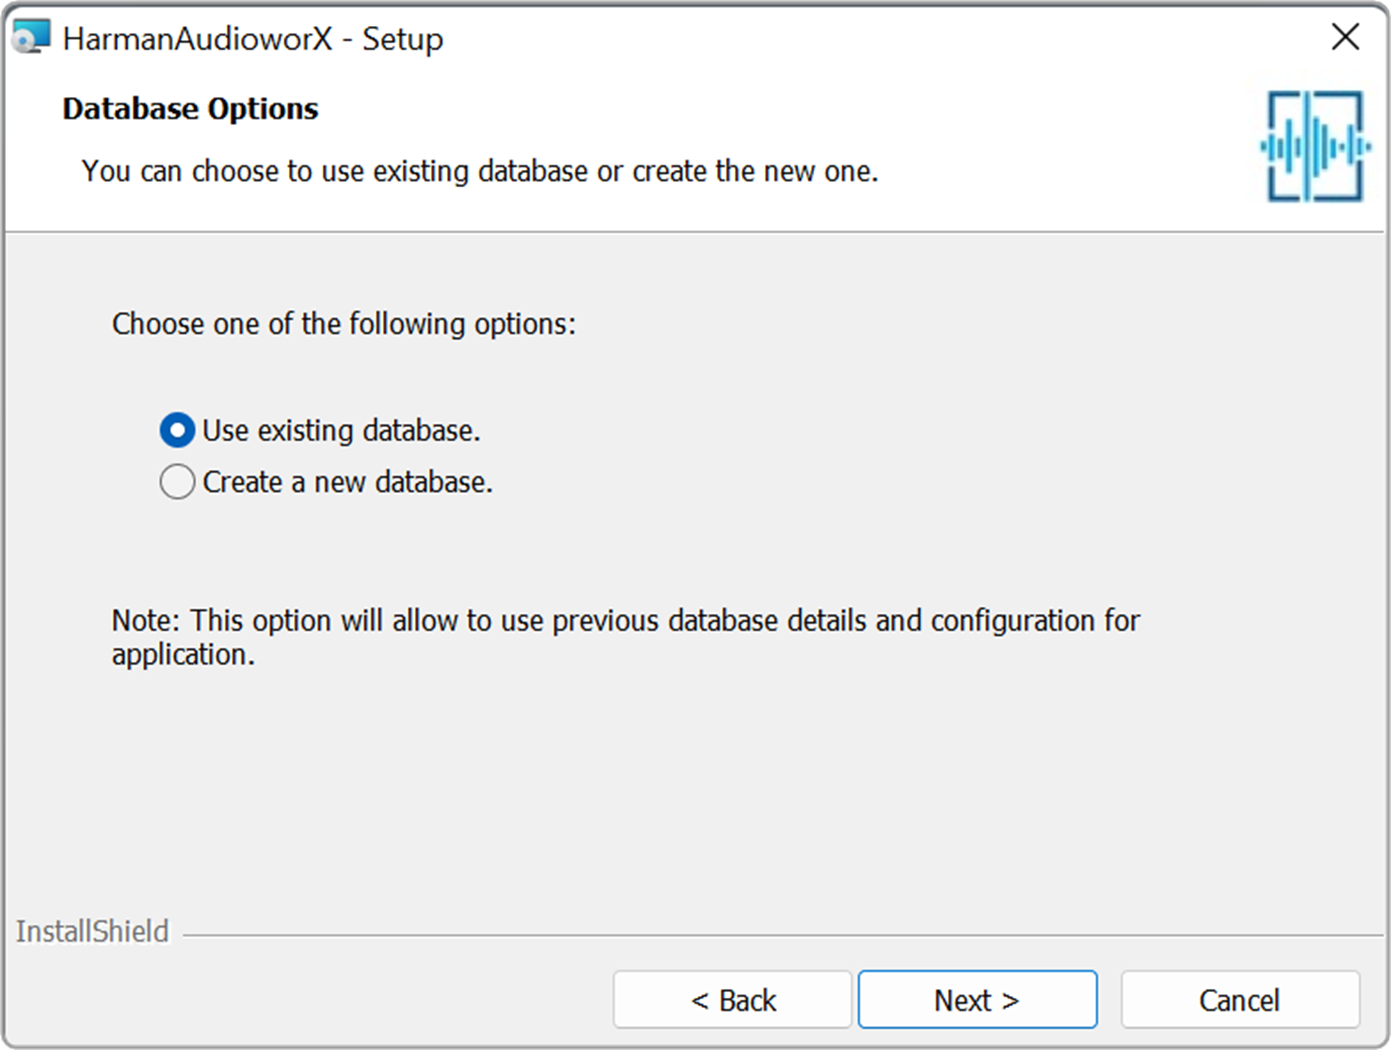
- On the database options screen, select any of the options Use existing database or Create a new database, and Next.
If you select Create a new database option, then you need to configure the database server.
If you select the Use existing database option, then the setup will continue with the existing database configuration.
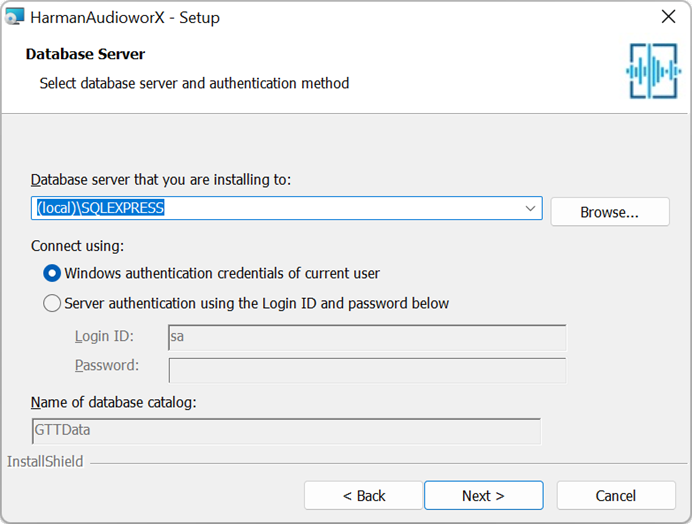
- On the server screen, connect to the server using one of the following options. (Only applicable if you select Create a new database).
By default, the wizard will connect to your local server.
Select the Windows Authentication option and click Next.
In this authentication mode, the wizard will automatically connect to your local server using your Windows authentication.
Or
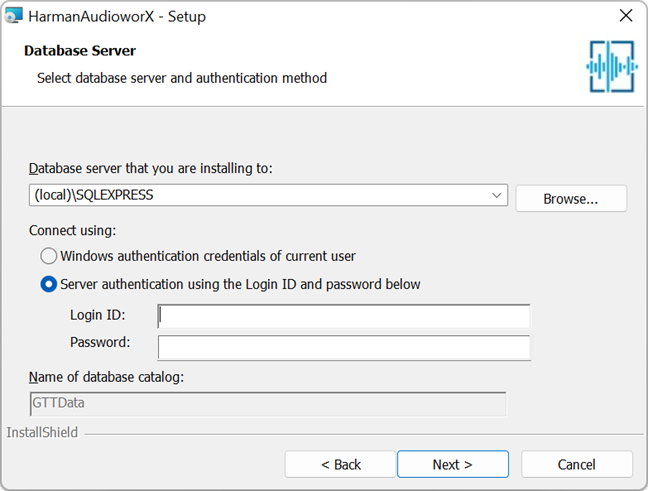
Select the Server Authentication option, enter the Login ID and Password, and click Next.
Use server authentication mode only if the server is available on the computer. Make sure you have server credentials details with you.
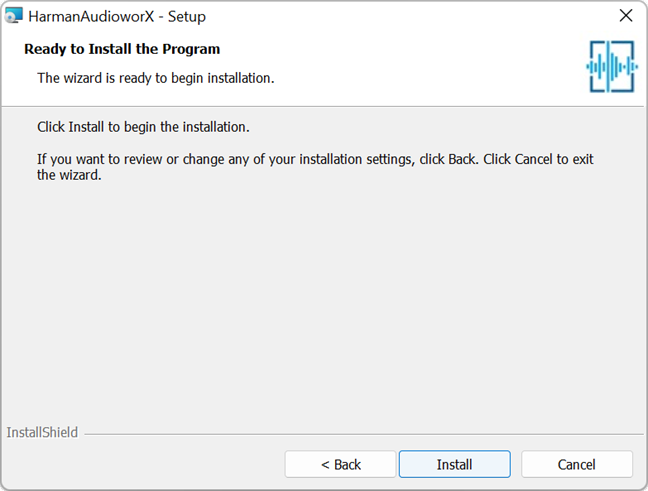
- Click Install to start the installation.
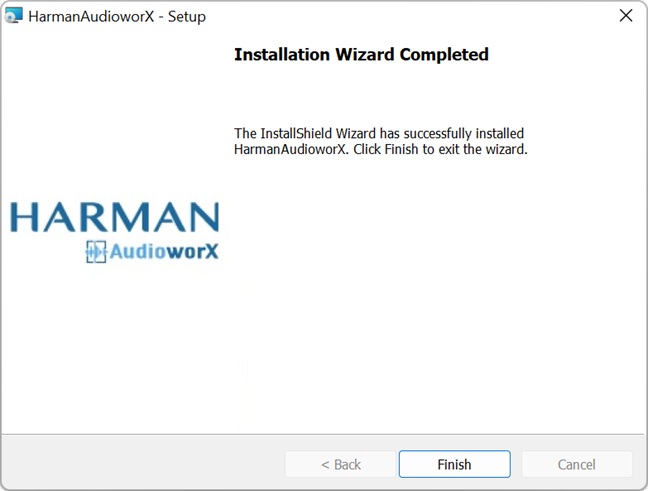
- Click Finish to complete the upgrade.