Table of Content


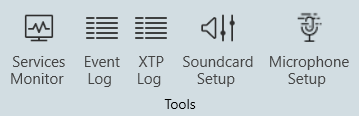
Tools
The Tools group allows you to monitor all services running on GTT, view the event and xTP logs, and perform the sound card configuration.
Related Topics
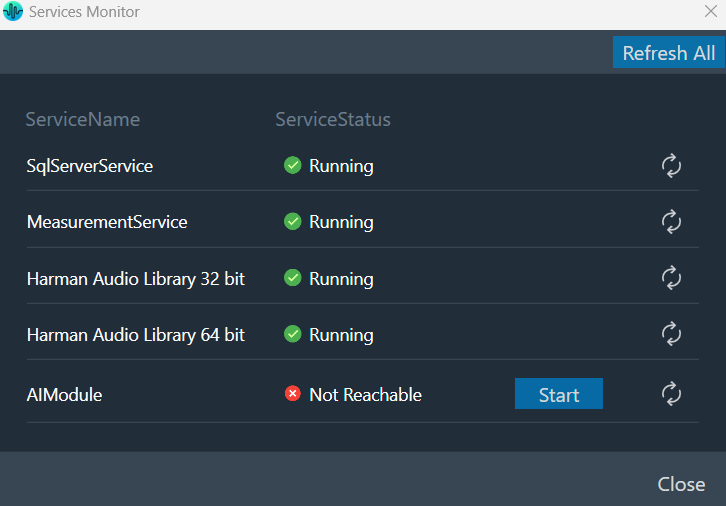
Global Tuning Tool provides a comprehensive set of tools for monitoring the following services:
- SQL Server Service
- Measurement Service
- Harman Audio Library 32
- Harman Audio Library 64
- AI Module
The choice of tool depends on the type of monitoring or tuning to be done and the events to be monitored.
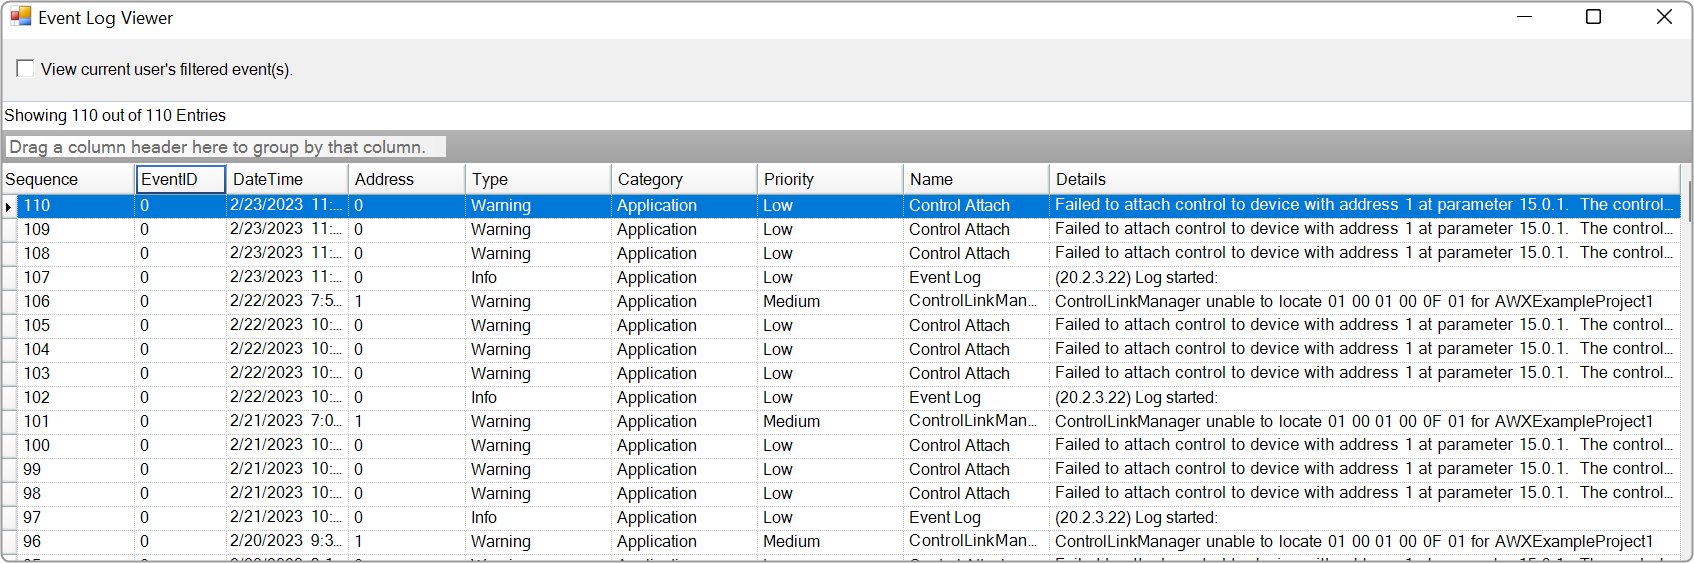
The Event Log window tab shows events that have occurred within the Global Tuning Tool and on connected devices. The log may be utilized by individual devices to perform certain operations. You can also use the logs for troubleshooting.
The Event Log Indicator will notify you in real-time as events occur.
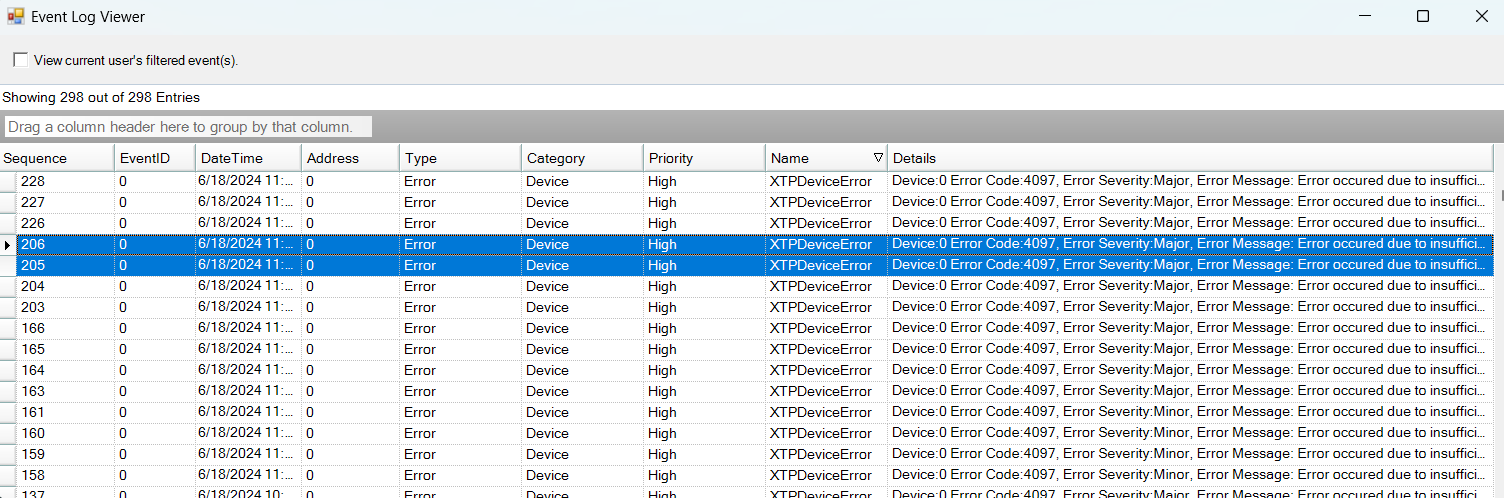
Any error on the device is displayed in GTT in the XTP viewer and Event log.
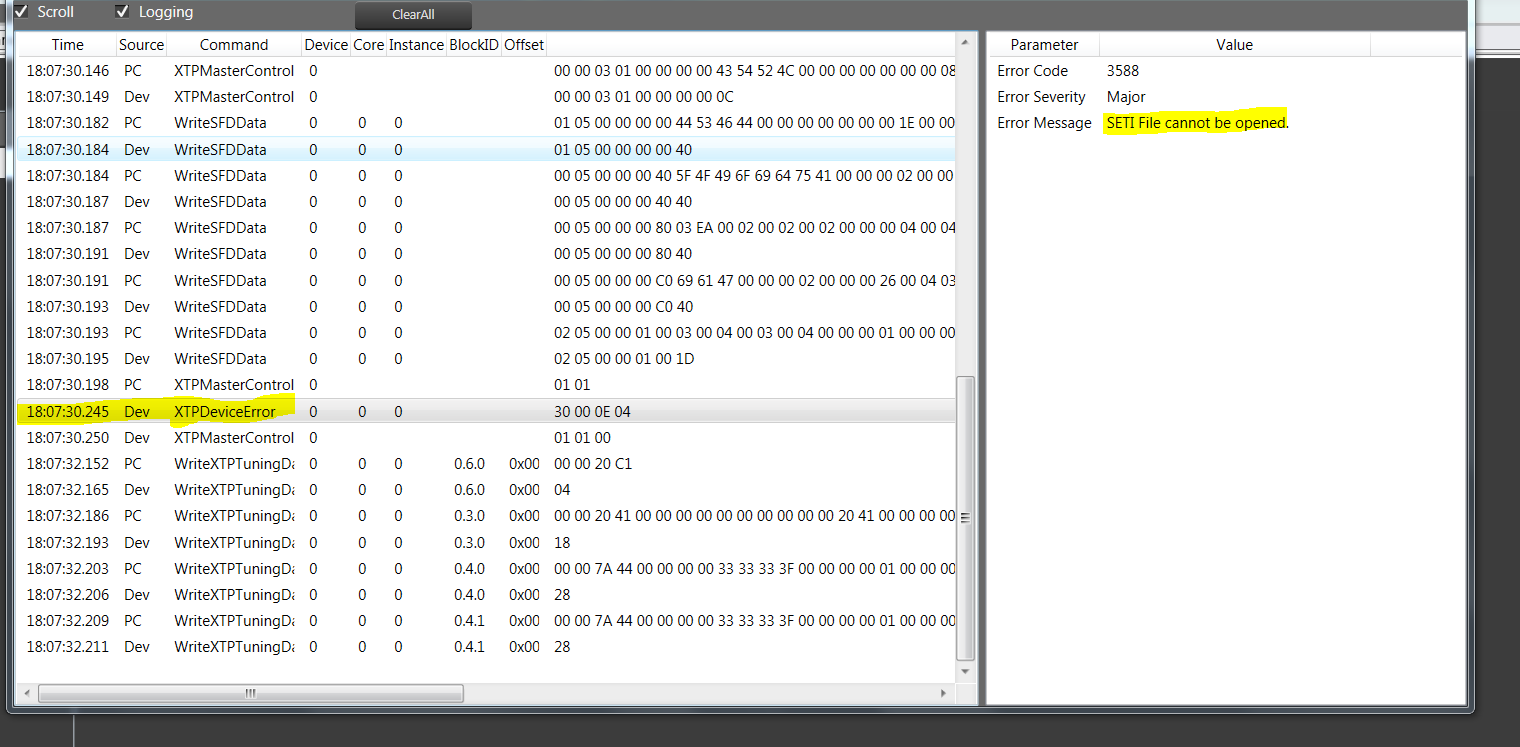
The xTP-Viewer has two sections:
- Left side section: Display message flow view and show raw data of several messages.
- Right side section: Detailed view of a selected message on the right side (is empty, if message interpretation is not implemented up to now for the specific message).
The Sound Card Setting allows you to configure the host API (audio driver), device, sample rate, block length, and the master output for the audio processing. Based on device selection, input and output channels are available for configuration.
Using “Master Output” you can set master and device output modes for speaker configuration in the Measurement Module.
The configured sound card configuration is used throughout the RTA and Measurement Acquisition features.
Before you start the Measurement wizard or set the “Sound In” and “Sound Out” devices in the RTA, make sure you have configured sound card settings like Host API (Driver Protocol), Device, Sample Rate, and Block length of the sound card.
On the “Streams” section list of available channels for input and outputs is displayed. Those can be route to any physical sound card channels. All devices are available as two-channel devices. The stream area displayed the Channel column, indicating the mapping of Sound In or Sound Out devices to specific channel pairs.
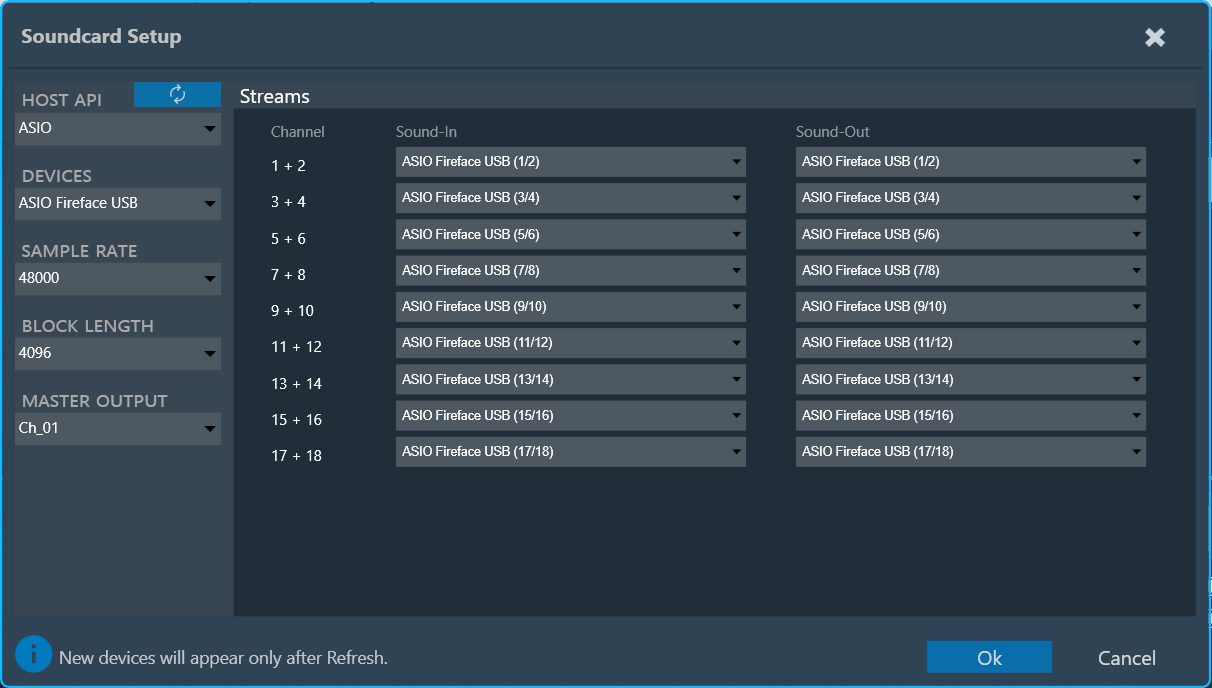
In the example above the mapping is configured as follows:
- SoundIn1, SoundIn2: Analog (1 + 2)
- SoundIn3, SoundIn4: Analog (3 + 4)
- SoundIn5, SoundIn6: Analog (5 + 6)
- SoundOut1, SoundOut2: Analog (1 + 2)
GTT supports two host API “MME” and “ASIO”.
- MME: This is the standard windows audio driver. It allows operation of multiple audio devices at the same time. Sample rates are handled by the operating system. Can be set to any sample rate. If the sample rate of the physical audio device is different, then OS takes care of the sample rate conversion. This mode is recommended if multiple devices are running at the same time, e.g. measuring with an USB microphone while playing back generator signals with an internal sound card. For MME, it’s required to select input and output devices separately, and all selected input and output devices support a maximum of 2 channels.
It is recommended to keep the block length at the maximum value of 4096 and the sample rate at 44.1 kHz or 48 kHz.
- ASIO: This driver is used with multi-channel sound cards. It enables low latencies and ensures that all input and output channels are in sync. Depending on the latency requirements of the audio signal processing provided by a loaded plugin (future feature) the block length can be reduced down to 64 samples. The RTA sample rate setting has to be equal to the audio device driver sample rate. It’s not required to select separate input and output devices for ASIO.
It is recommended to use an ASIO sound card instead of Windows drivers. When using Windows drivers, it is advised to use a block length greater than 1024 in order to avoid the noise distortion effect, which is a known limitation of the Windows driver (as observed even in audio mulch).
The setting for sample rate does not change the actual setting in the sound card driver. The alignment of the sample rate setting has to be ensured by the user.
During sound card configuration, channel streams should be automatically assigned with available input and output devices if the user has not already assigned any sound input or output devices to RTA Channel streams.
If the user attempts to unassign all sound card channels, a toast message should be displayed with message like “You have unassigned all sound card channels. This will disable the internal IVP processing, because no lock master available. Please assign at least one channel pair to re-enable the processing”.
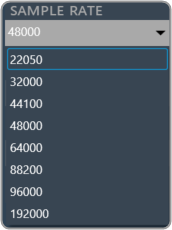
Supported sample rate
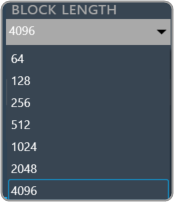
Supported block length
If there are any modifications to the Sample Rate, Block Length, or Host API, it is necessary to reconnect the device Sound card settings impact in RTA
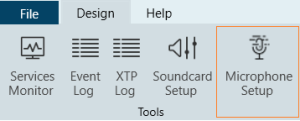
The Microphone Setup allows the calibration of microphones and assigns a mic compensation file for each microphone. The configured values will be applied across the GTT wherever microphones are involved, such as in the RTA and measurement modules. This view can be accessed from the “Microphone Setup” button in the “Design” ribbon tab.
Every microphone element (1 or 6 microphone array) must be calibrated separately. The central element of the calibration menu is the list of microphones contained in the current microphone element. The list has the following columns:
- Microphone: The number of the microphone within the element.
- Sound-In: The stream channel number is configured with the physical channel of the sound card in the Sound Card Setup view. Duplicate channel assignments to microphones are indicated in orange.
- Previous value: Offset measured during the previous calibration, displayed as comparison.
- Current value: The offset measured during this calibration.
- Compensation File: This is the File provided by the mic manufacturer, which will be used for magnitude curve correction. The current supported is a .txt file. The supported file format is attached here M4261-Microphone-4881.
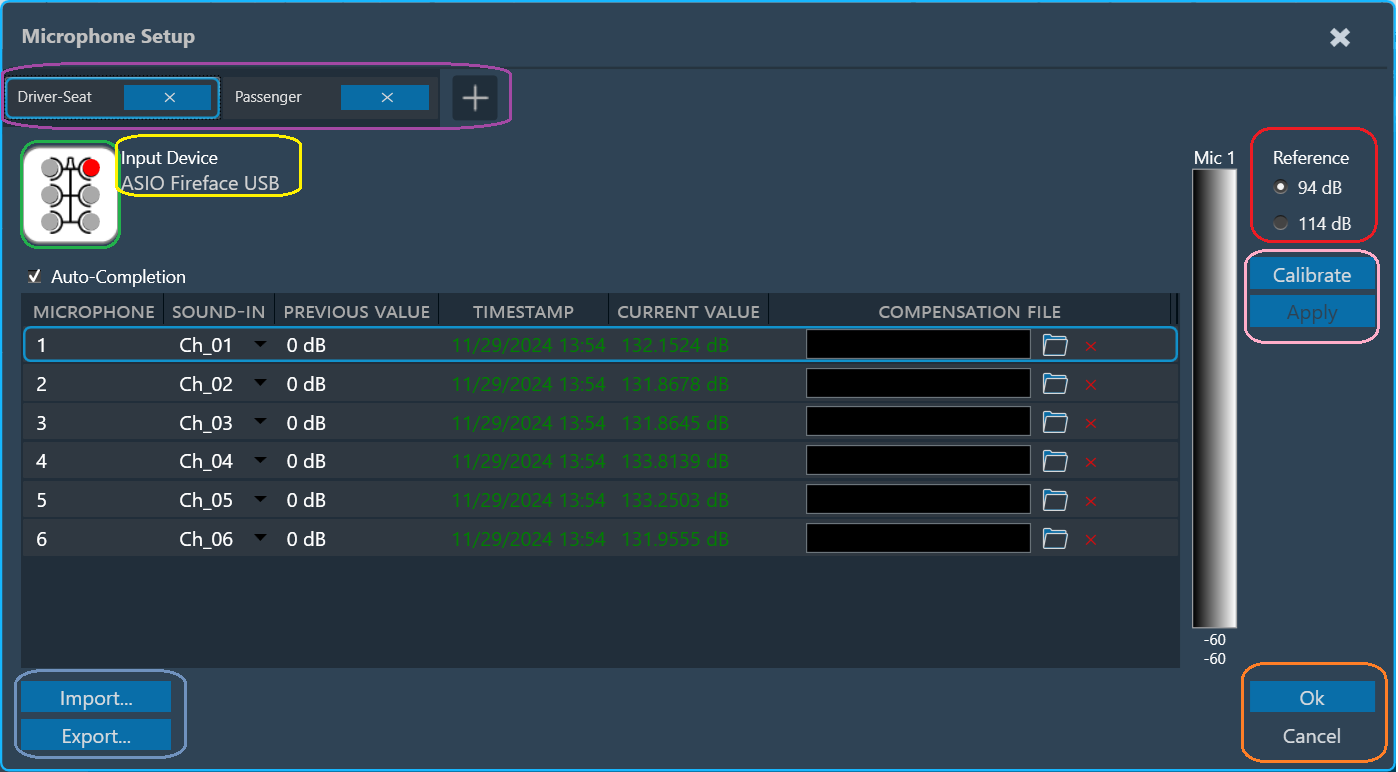
The type of the microphone element and the currently selected microphone within the element are indicated using an icon (green rectangle).
The soundcard and the selected microphone is displayed (yellow rectangle).
The reference sound pressure level of the calibrator can be selected in the upper right (red rectangle).
Multiple microphone carriers can be added or removed (purple rectangle). The currently selected/configurable microphone carrier is highlighted in blue.
To calibrate a microphone:
- Choose the Microphone carrier and select the microphone you want to calibrate.
- Assign the channel number. Auto-completion will assist in assigning available incremented channels.
- Attach the microphone to the designated channel on the calibration device. This will connect the calibrator to the microphone itself.
- Select the appropriate reference sound pressure level (SPL) for your calibration.
- Click on the Calibrate. The calibration process should take approximately 2 seconds.
While calibration is running, observe the level meter (indicated as a black rectangle) for activity on the chosen input channel.
The calibration will result in an offset value (displayed in red in the “current value” column). - Click on Apply to accept the value (which will turn the value green) or repeat the calibration process if the value is not satisfactory.
- Click Apply confirms the calibration value, turns it green, and automatically selects the next microphone that needs calibration (if applicable).
Repeat the procedure for all microphones in the array.
Import: An existing calibration and compensation file path can be imported using the “Import” option. This sets the current value for all microphones to the stored offsets. The values must be applied. Settings will be imported to the selected microphone carrier.
Individual microphones can be re-calibrated at any time. Once all calibration offsets are applied, the menu can be closed using “Ok”.
Export: A full set of applied calibrations along with the compensation file path can be exported to disk using “Export”. Settings will be exported from the selected microphone carrier. Exported JSON files will have the Channel Number, Offset, and mic compensation file of the calibrated microphones.
When configuring multiple microphone carriers, you can easily switch between them, and any changes you have previously configured will be automatically applied.
For any changes in the mic row, the user must click Apply to save the changes before clicking OK.