As a new user, the first step after installing the Global Tuning Tool (GTT) is to activate your GTT license. This will ensure you have full access to all features and benefits.
To access the Global Tuning Tool, complete your registration and activate your license.
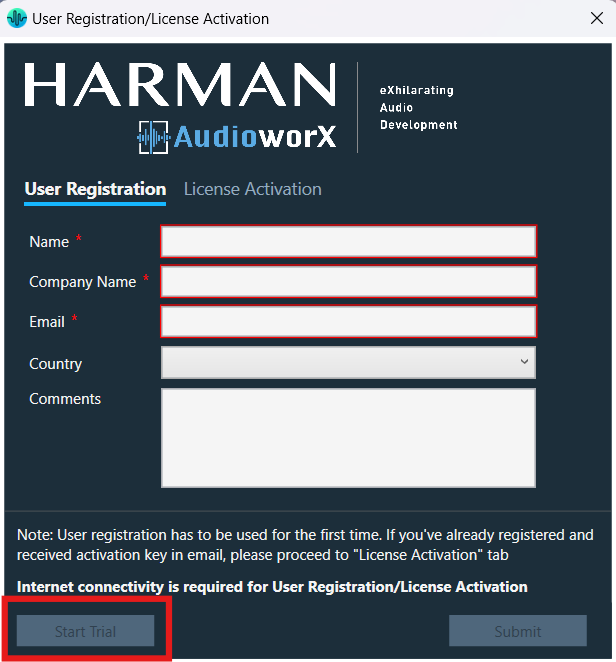
Experience the full capabilities of the Global Tuning Tool with an exclusive hands-on trial. By requesting your complimentary 90 days trial license, you’ll gain the opportunity to explore its powerful features and advanced tuning options.
Request your trial license today. For more details, refer Global Tuning Tool trial license.
Make sure your computer is connected to the internet before starting the GTT license activation process.
User Registration
Follow the steps below to complete the Global Tuning Tool user registration.
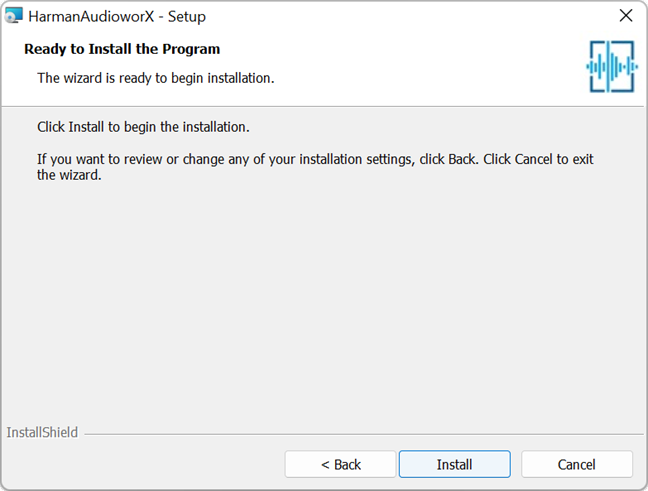
- Double-click on the Global Tuning Tool to start.
- Enter the following user registration details on the User Registration/ License Activation screen.
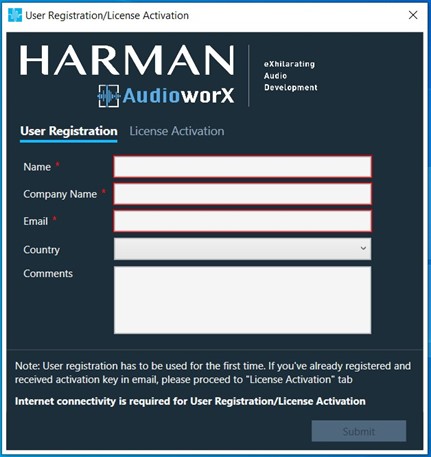
- Click Submit.
After submitting registration details, the GTT displays a message “User registration is successfully completed. You’ll receive the activation key in your registration email ID soon.”
- Click Ok.

You will receive the activation key on your registered email ID within 24 hours on a working day.
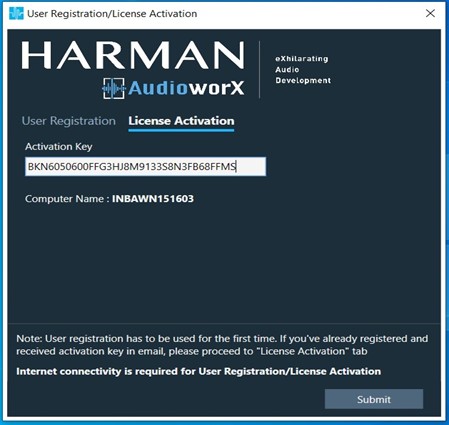
License Activation
On receiving the activation key over email, you need to activate the license.
Follow the steps below to activate the license.
- Double-click on the GTT to start.
- On the User Registration/ License Activation screen, select the License Activation tab.
- Enter the activation key and click Submit.
On successful activation, the GTT license activated successfully message will be displayed.
Renew License
You might see the “Renew GTT license” message on your GTT platform landing page or dashboard. This happens due to an upcoming expiration date of the GTT license.
The latest GTT license includes new features and extended license validity.
Follow the steps below to renew the GTT license:
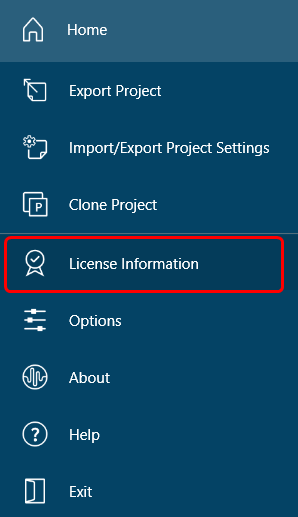
- Open the Global Tuning Tool, navigate to the Home screen, and click on the License Information. This will open the GTT subscription status window.
- On the subscription window, click on Renew Now to renew the GTT license.
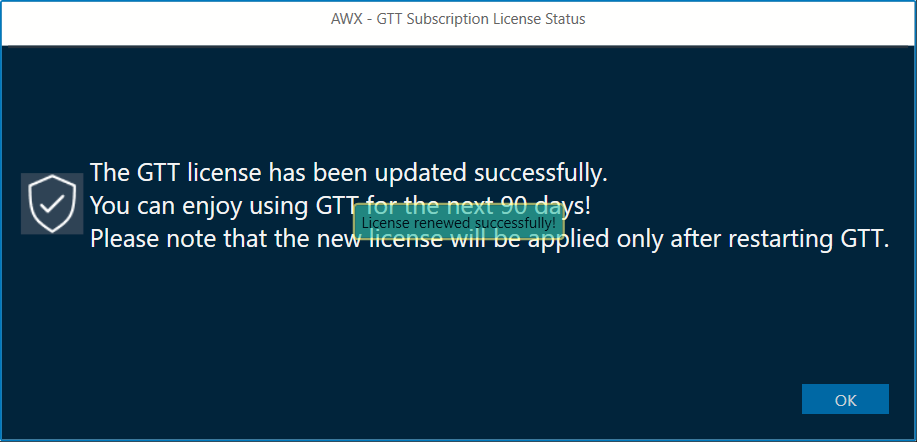
The system will start downloading the latest license. The GTT platform notifies you after a successful license renewal.
Once you have renewed your GTT license, you can check its validity. Go to the Home screen and check for License Information. Also, you can find information about the license validity under the “About” option.
If your AudioworX/GTT license has expired or you’ve forgotten to renew while it was active. Follow the steps below to activate the license.
1. Locate Your License Key: Check for the latest license activation email received in the registered email address. This email contains your license key and other activation details.
Use “AudioworX Subscription/Renewal” as the email subject for your search.
2. Activate Your License Key: Copy the license key, open the AudioworX/GTT application, and enter your license key in the activation key field on License. Activation window and submit to complete the renewal process.
If you’re unable to locate the license key or have any issues with the renewal process, our AudioworX support team is here to help you.
Contact us at AudioworXSupport@harman.com
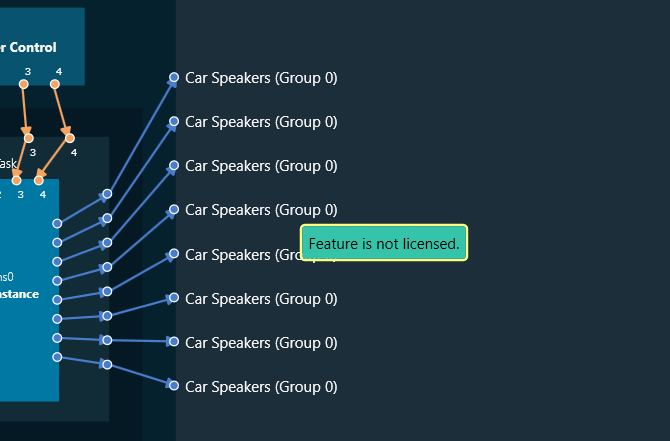
You will only have access to licensed features on the GTT Platform. If you try to use a feature that you don’t have a license for, a message will appear stating “Feature is not licensed.”