This page contains information relevant to the developer features of the AudioworX Starter Kit, which require a special license. Write to AudioworXSupport@harman.com for details on how to avail the license.
Following is a list of software applications to be installed on a Windows PC to develop, build and debug custom audio objects (AOs) on the Starter Kit:
- Global Tuning Tool Pre-Requisites
- Global Tuning Tool
- Raspberry Pi toolchain (GCC 10.2.1)
- Visual Studio Code (latest version)
- cmake (latest version)
- Python 3.12
Download and install the above-mentioned pre-requisites on a Windows 10 or 11 PC.
For steps on how to install GTT and its pre-requisites, Refer Installing AudioworX Setup
The Raspberry Pi Toolchain
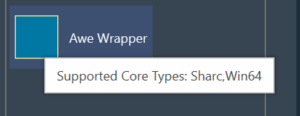
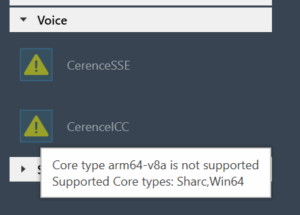
The main audio processing component of the AudioworX Starter Kit is the Raspberry Pi 5, which has ARM v8a (64-bit) cores. To cross-compile source code for this architecture, the GCC 10.2.1 toolchain is recommended and can be downloaded from GCC 10.2.1 toolchain:

Install the toolchain in the default location (C:\SysGCC\raspberry64).
Python Dependencies
The GTT installation includes the Starter Kit Utility tool (SKUtility), a Python command-line application that provides the ability to remotely operate the Starter Kit hardware over the network. This tool is installed in the following directory (default GTT installation folder):
C:\Program Files\Harman\HarmanAudioworX\StarterKit\StarterKitUtility
For more information on Starter Kit installation and setup, refer to the “Required Software Applications” section of Starter Kit Requirements.